
AI and Credits setup
Friendly overview of optional AI in SEO Booster, SEO Booster Credits, and how to get from portal sign-in to using AI in WordPress.
SEO Booster works without AI. Search Console sync, SEO analysis, automatic links, Tools scans, and weekly reports all run with AI provider set to Disabled.
When you want help with titles, meta, image alt text, bulk Tools batches, or Ask answers, you turn AI on under SEO Booster → Settings → AI / LLM.
Two ways to use AI (pick one)
| Provider | Best when |
|---|---|
| Disabled | You only need core SEO features |
| WordPress Connectors | You already use WordPress 7+ AI under Settings → Connectors |
| SEO Booster Credits | You want prepaid AI from us, managed at seoboosterpro.com/credits/ |
This guide focuses on SEO Booster Credits. Connectors stay available if you prefer your own WordPress AI setup.
What SEO Booster Credits is
Credits is a prepaid wallet for AI usage inside the plugin.
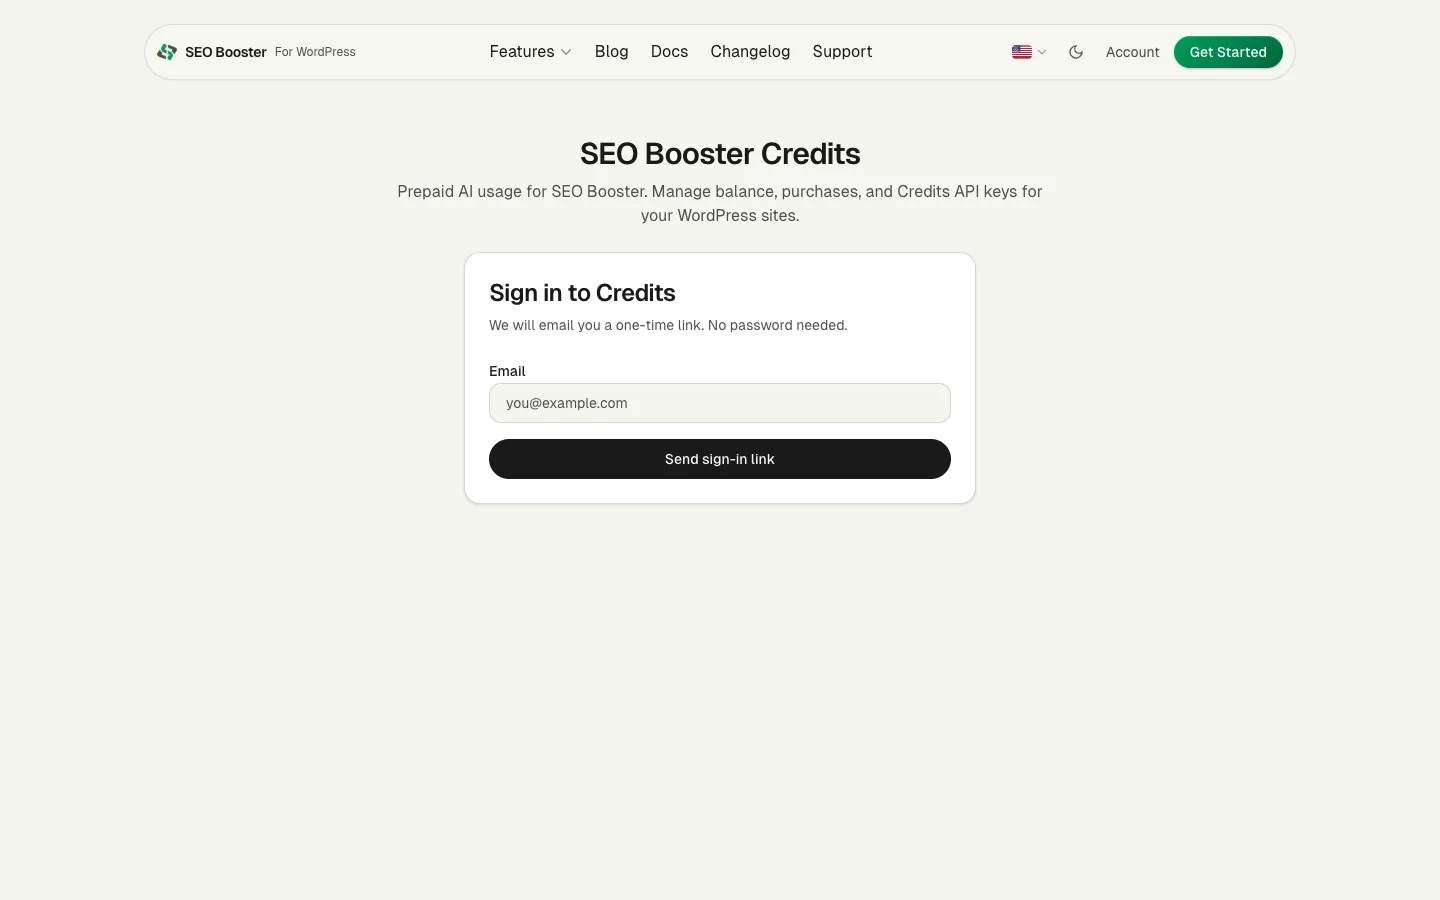
- You sign in at the Credits portal with a magic-link email (no password).
- New accounts get 20 welcome credits on first successful sign-in.
- You create a Credits API key for each WordPress site.
- In the plugin you choose SEO Booster Credits, paste email + key, and connect.
- When the plugin runs an AI action, it spends credits from your wallet. Buy a pack when you need more.
Credits is not the same as your Pro license on /account/. Pro unlocks plugin features. Credits pays for AI API calls when that provider is selected.
How it works (simple picture)
You (portal)  →  buy packs / create API key
WordPress     →  connect with email + key
Plugin AI job → api.seoboosterpro.com → result back in the plugin- Balance and purchases live on the portal.
- Each site uses its own API key (recommended).
- Optional per-key budgets limit how much one site can spend.
- Requests that fail terminally in the Credits service are refunded automatically.
Welcome credits and expiry
| Type | What happens |
|---|---|
| Welcome (20) | Granted on first verified portal sign-in. Unused welcome credits expire after 90 days of inactivity (no portal login, spend, or purchase). |
| Purchased packs | Do not expire. |
Typical first-time path
- Open seoboosterpro.com/credits/ and request a sign-in link.
- Open the email link. Confirm you see your balance (including welcome credits if new).
- Create an API key on the API keys tab. Copy it once.
- In WordPress: Settings → AI / LLM → SEO Booster Credits → same email + key → Connect.
- Try one small AI action (for example a title suggestion or a single Tools item), then check Usage on the portal.
Step-by-step screens: Credits portal and Connect in WordPress.
Credits guides
| Topic | Article |
|---|---|
| Portal sign-in, balance, packs, usage | SEO Booster Credits portal |
| Connect a WordPress site | Connect Credits in WordPress |
| Pack prices and per-request costs | Credits pricing and costs |
| API keys and per-site budgets | Credits API keys and budgets |
| Connection, balance, checkout, and failed jobs | Troubleshoot SEO Booster Credits |
| Dashboard Ask about your SEO (Pro) | Ask about your SEO |
What uses Credits when enabled
- SEO metabox: titles, descriptions, suggestions
- Tools: bulk meta, image metadata, GSC opportunities, llms.txt AI suggestions, Pro Entity Map AI
- Ask about this page, and Ask about your SEO on the Dashboard (Pro)
- Product SEO and comprehensive analysis when Credits is the selected provider
Costs per action type: pricing and costs.
AI bot settings (same Settings tab)
Those controls are for AI Bot Tracking, not for generation. Enable/disable tracking, mapped-content-only, retention, and Pro blocking options live next to the AI provider choice.
Need help?
- Portal and connect docs above
- Support if connect fails or balance does not update after a purchase
Browse topics